How ePayment works in person
Install AI tools
Give your assistant up-to-date guidance for our APIs, with our plugin or without it.
The plugin is still under development. See the AI tools page for details.
- Claude Code
- Cursor
- Codex
- Without installing
Run both commands, in order.
claude plugin marketplace add vippsas/agent-toolkit
claude plugin install vipps-developer@agent-toolkit
Open Settings, then Plugins.
Add vippsas/agent-toolkit as a plugin marketplace, then install the "vipps-developer" plugin.
For the app, add the marketplace "vippsas/agent-toolkit" and then install "vipps-developer". For the CLI, run the following commands.
codex plugin marketplace add vippsas/agent-toolkit
codex plugin add vipps-developer@agent-toolkit
Paste this into any assistant.
Read https://github.com/vippsas/agent-toolkit/blob/main/plugins/vipps-developer/README.md for Vipps MobilePay integration guidance.
For troubleshooting, see the full instructions.
Enable your customers to pay easily and quickly from their own phone, without the need to touch the terminal. Offer contactless payment to your customers by integrating the ePayment API into your POS system.
It is also possible to use our simpler solution, Open amount, but then the amount must be entered manually at checkout, and there will be some follow-up with accounting and settlement.
Details
1. The merchant adds the customer's products to the POS
Add the products that the customer wants to buy in the point of sale.
- Vipps
- MobilePay
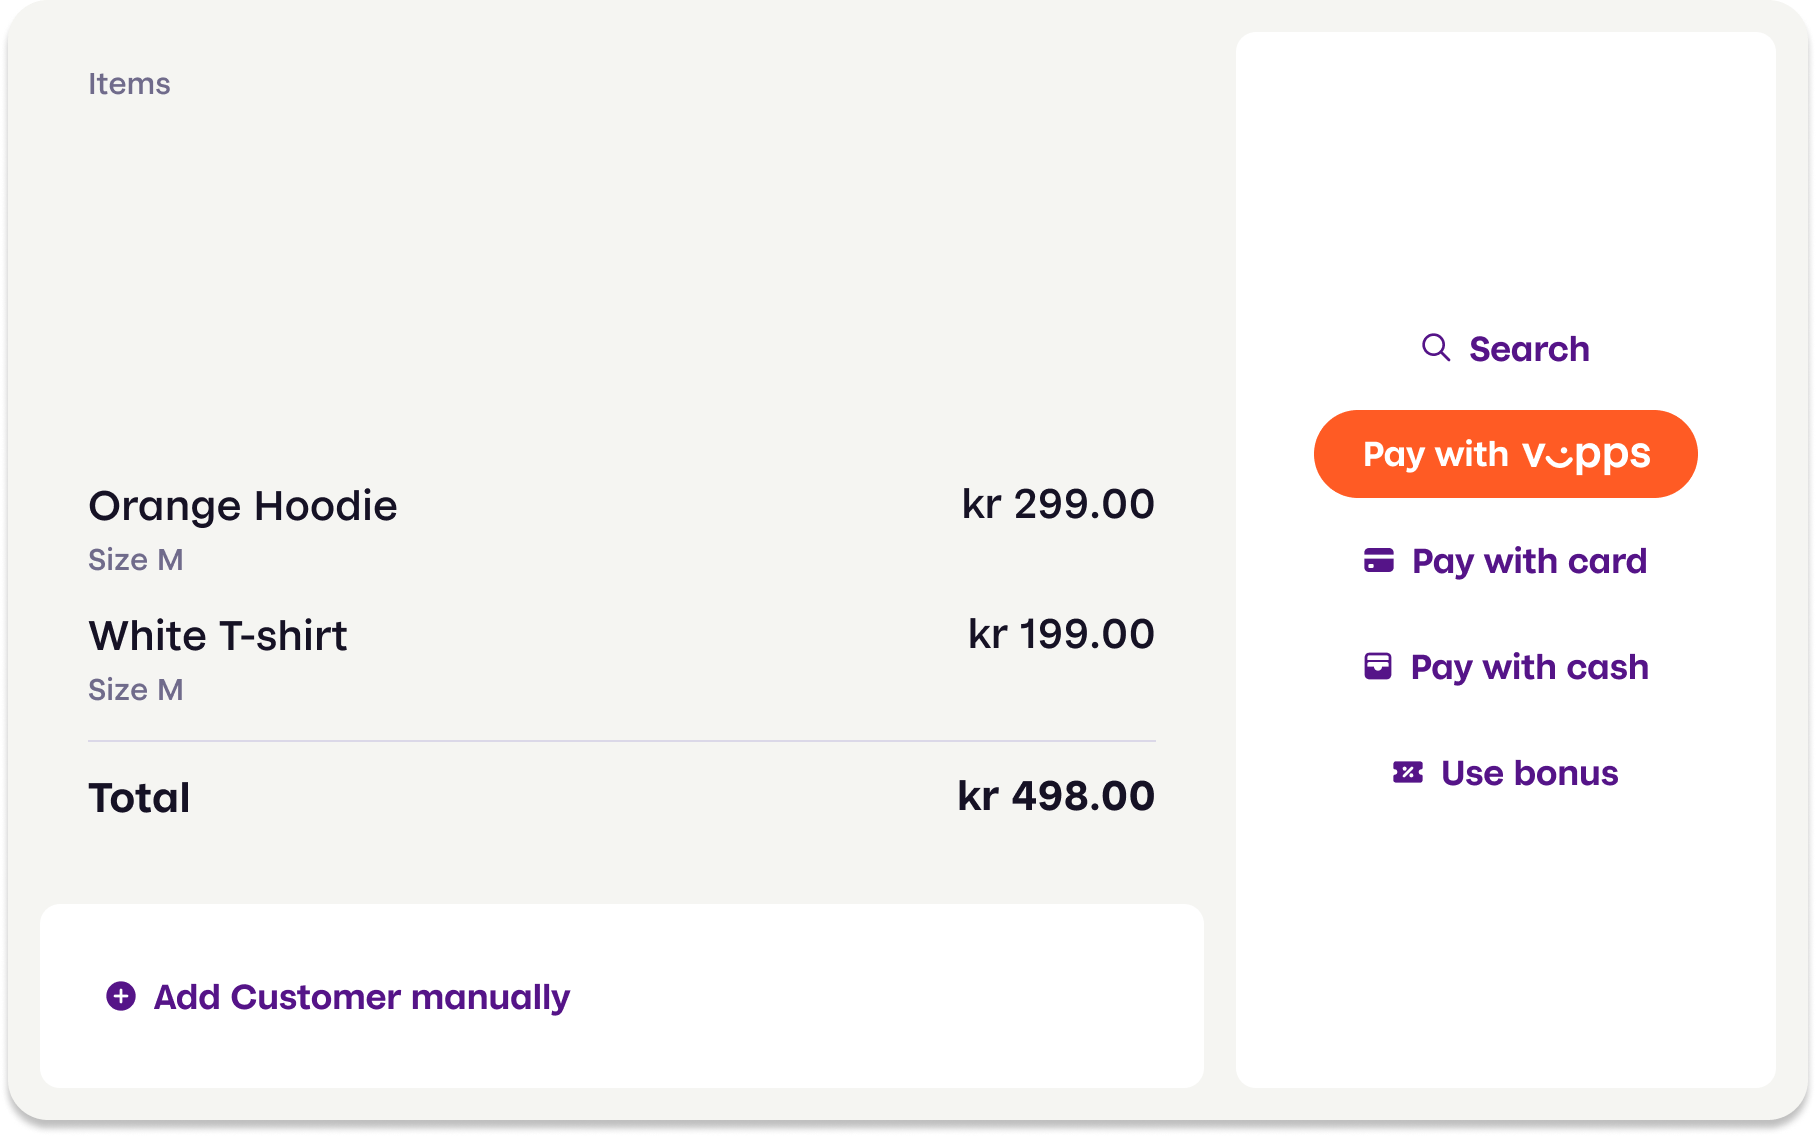
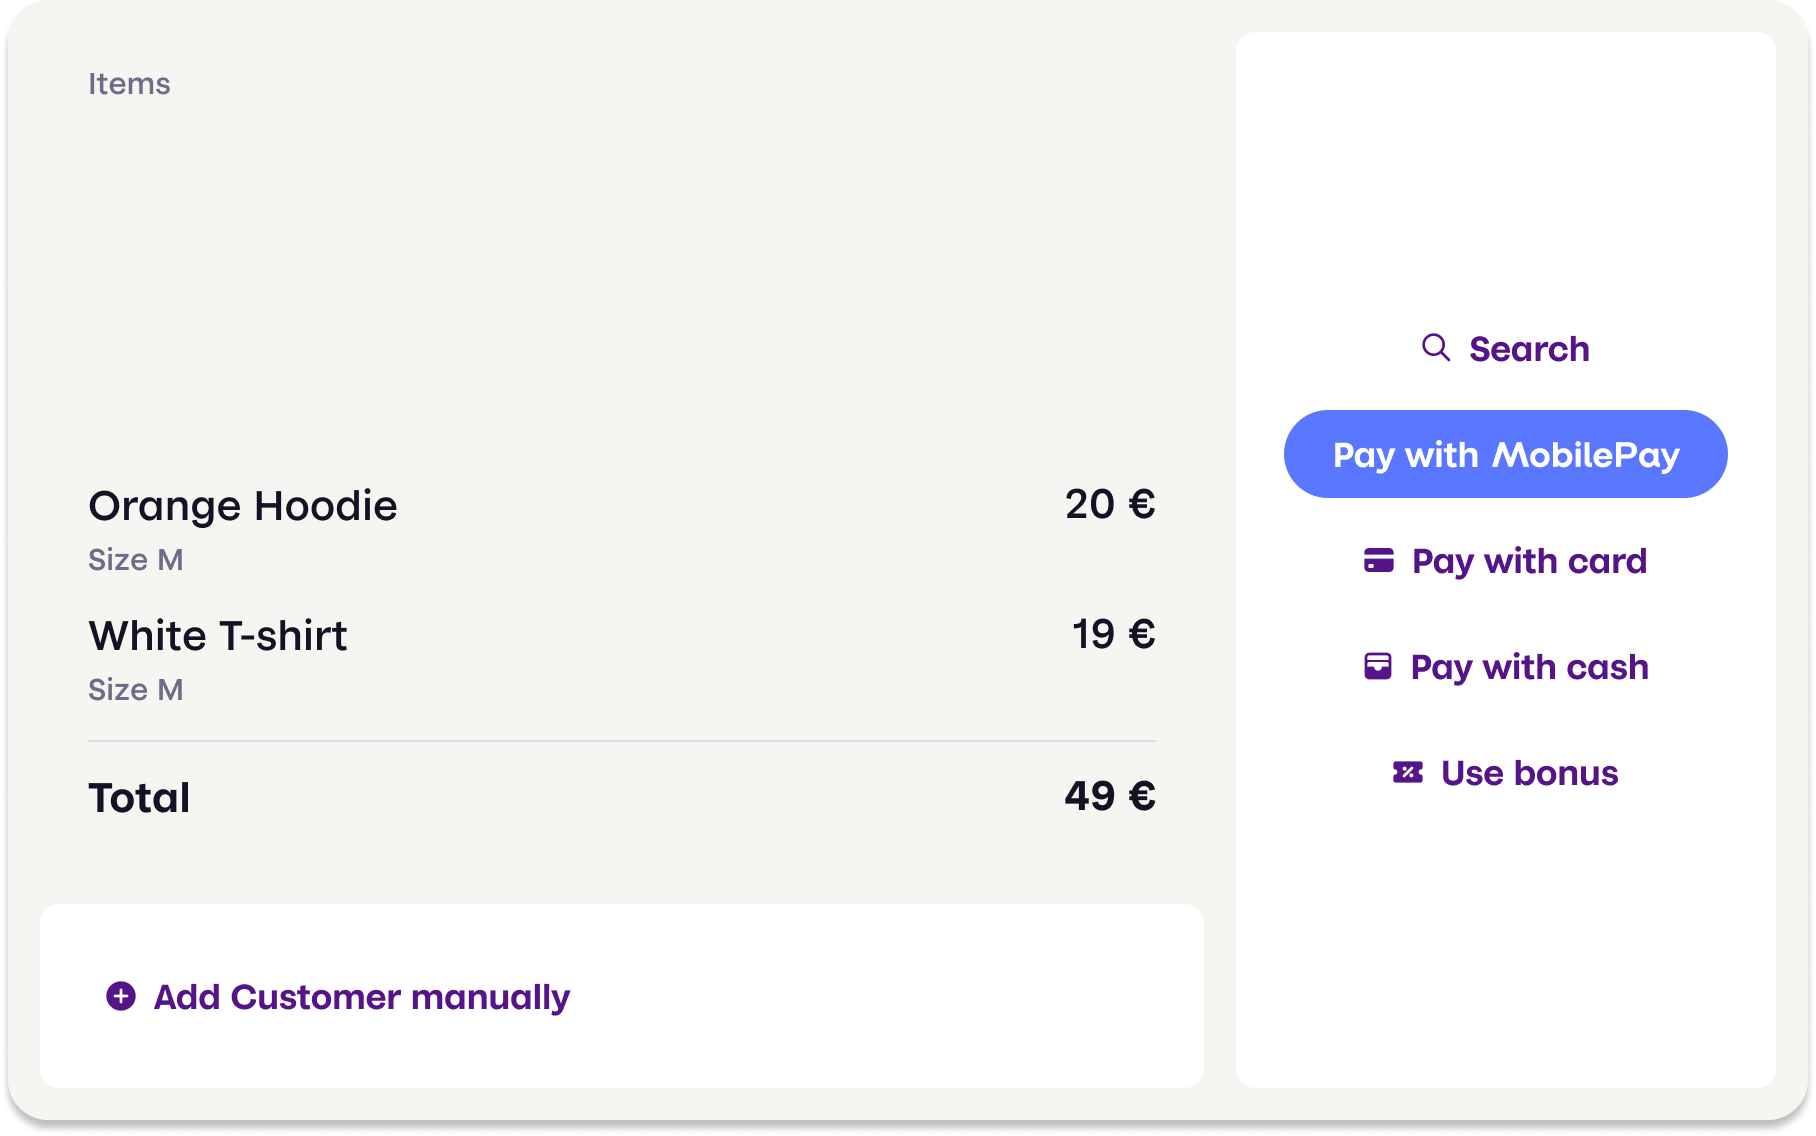
Screenshot: POS system showing a list of items on the left and payment method options on the right, including a highlighted "Pay with Vipps" or "Pay with MobilePay" button alongside card, cash, and other options.
2. Enter the customer's phone number
When the customer is ready to pay, choose Pay with Vipps/MobilePay and enter the customer's phone number.
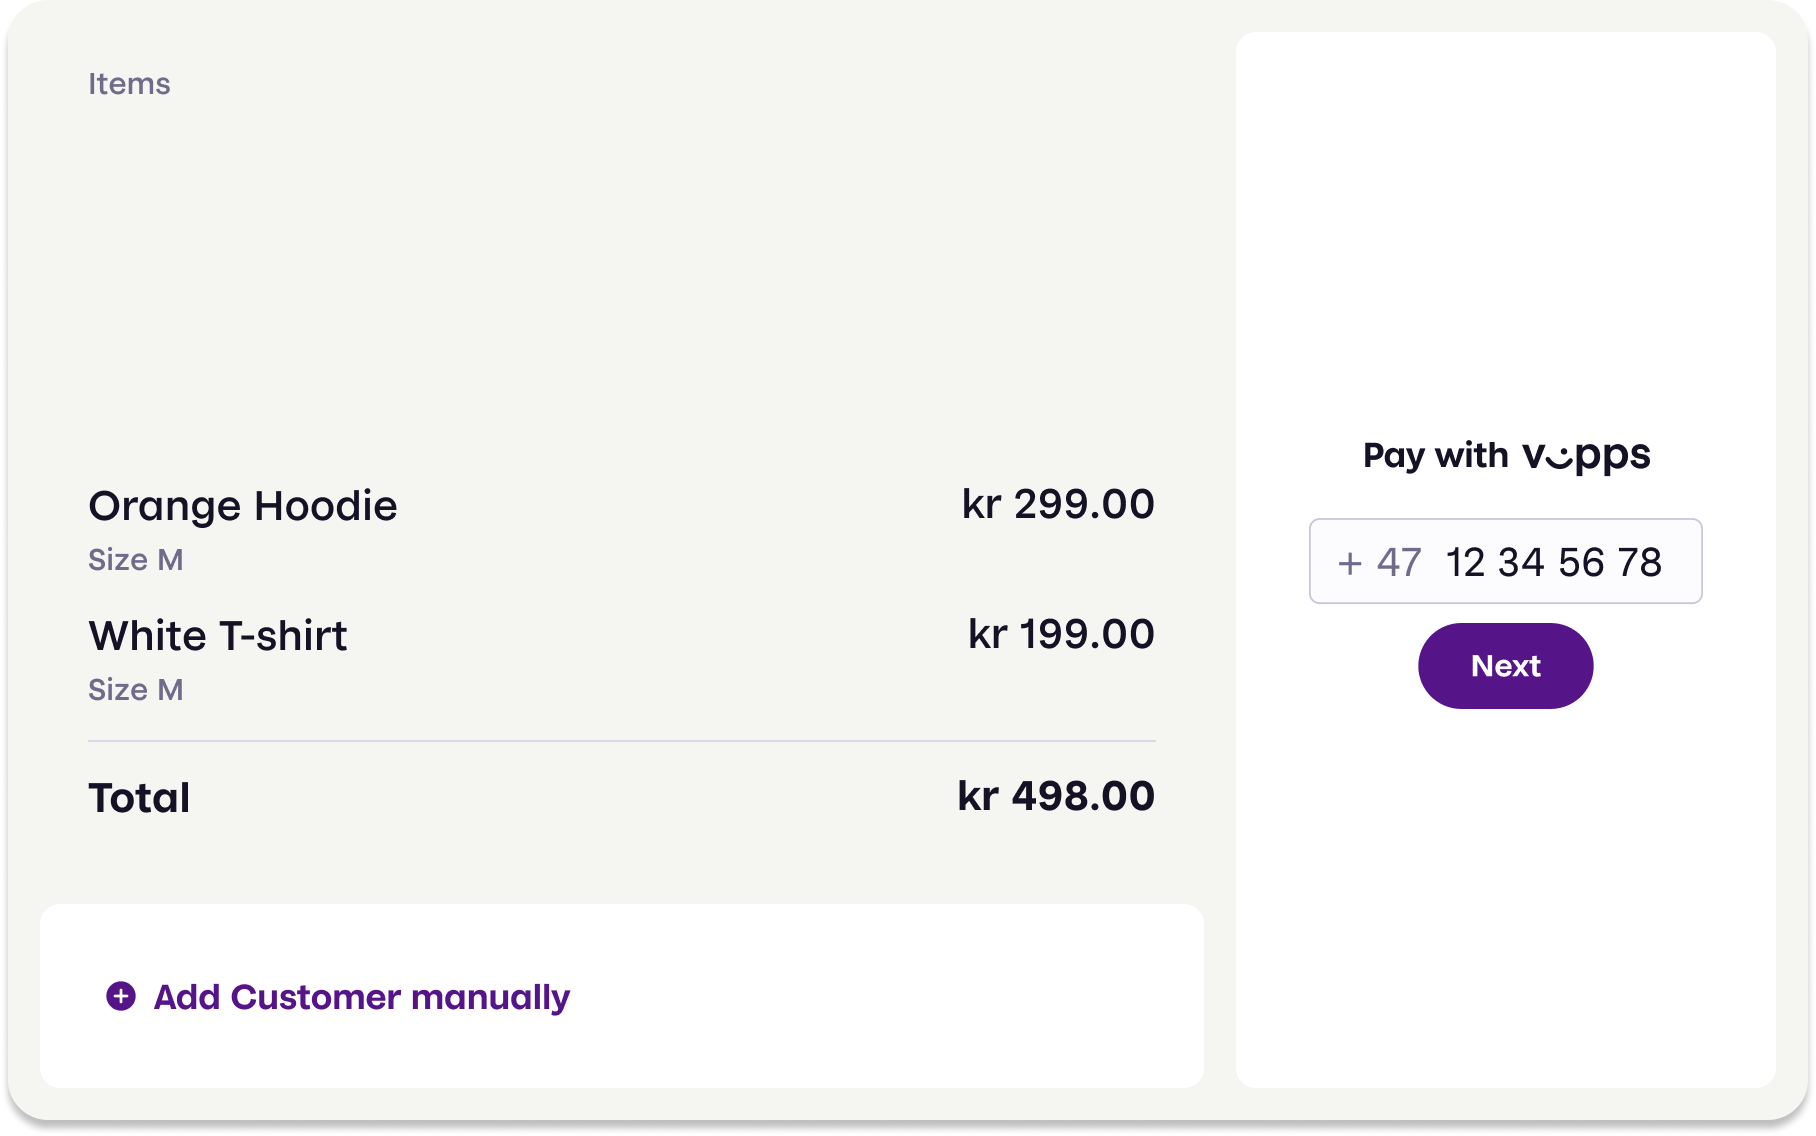
Screenshot: POS system showing order items on the left and a phone number input field with a Next button on the right.
3. Merchant creates a payment request
The merchant creates a payment request with: POST:/epayment/v1/payments.
The customer will get the confirmation screen in their app.
Per regulations, specify "customerInteraction": "CUSTOMER_PRESENT".
Set userFlow to PUSH_MESSAGE. This will send a push directly to the customer.
For an example, see In person.
4. The customer confirms payment in the app
The customer gets a push notification and confirms the payment in their Vipps/MobilePay app. The ePayment API automatically reserves the payment and provides confirmation of the successful payment.
- Vipps
- MobilePay
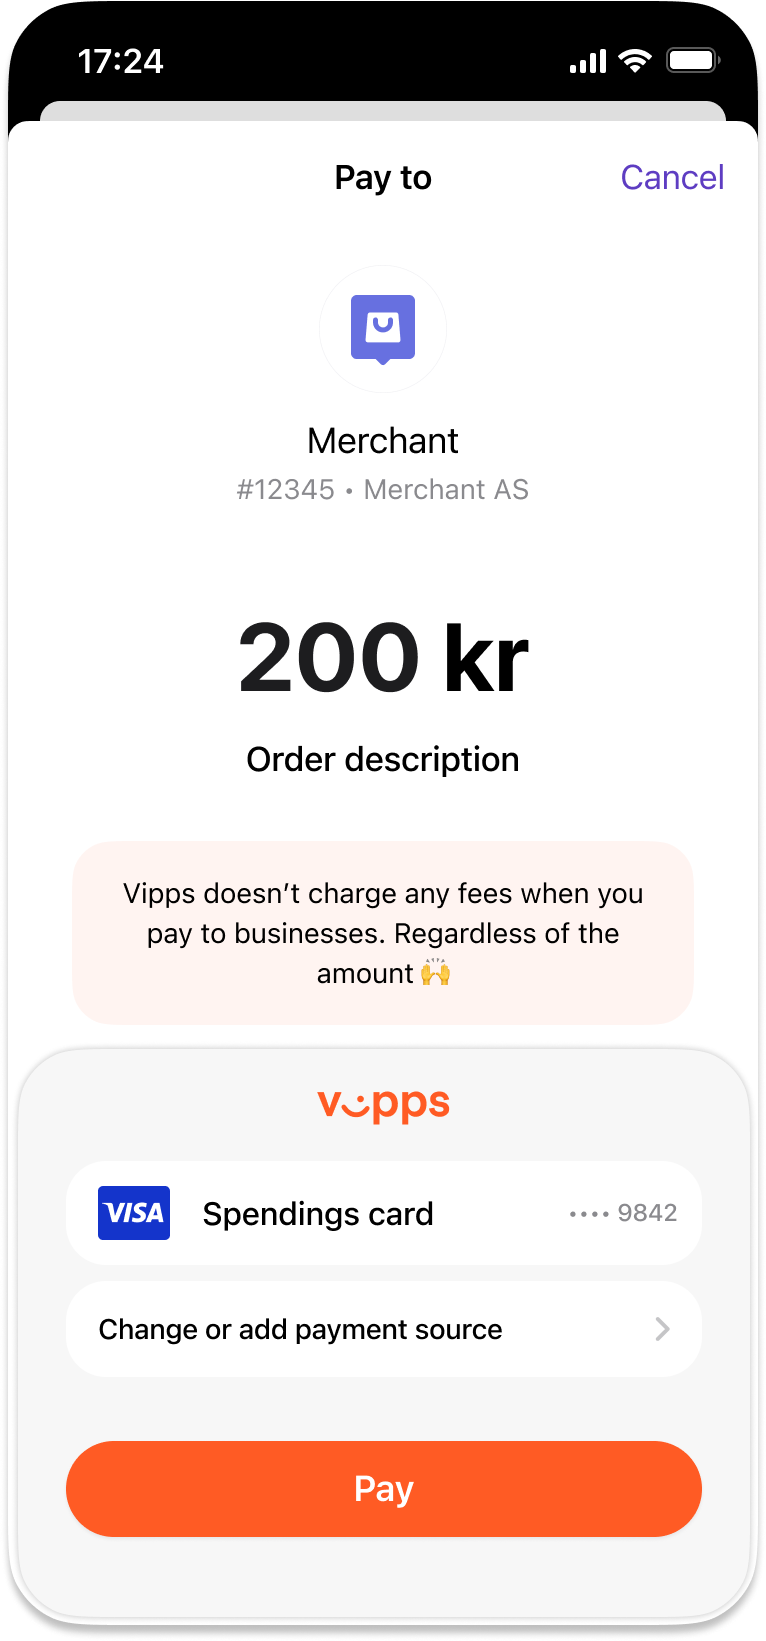
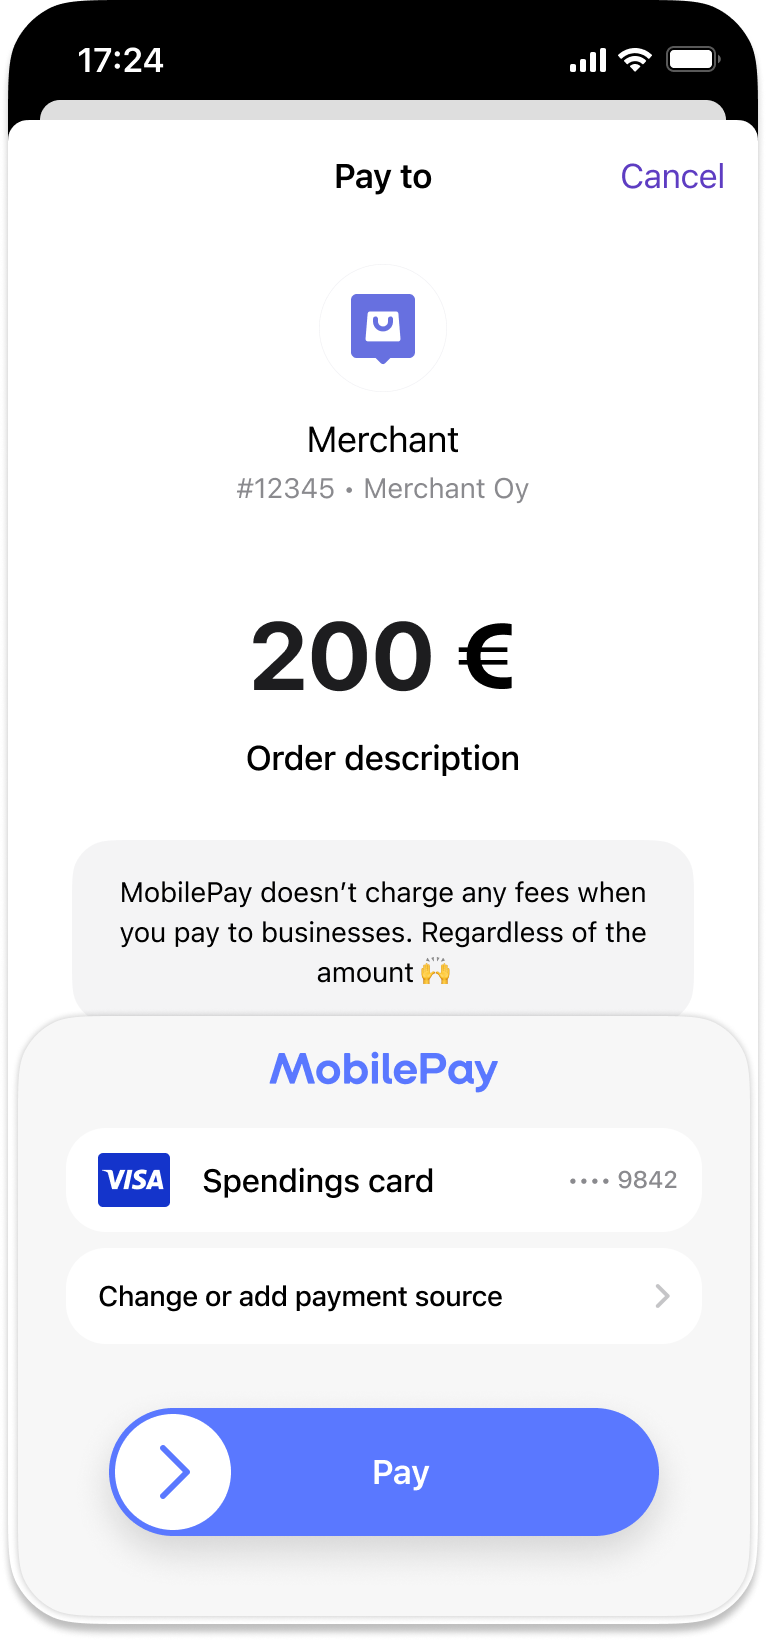
Screenshot: App payment screen showing the merchant name, order description, selected payment card, and a Pay button.
5. The merchant learns the outcome from webhooks and polling
The merchant's system has no visibility into what happens in the app, so it must subscribe to webhooks to be notified when the customer acts on the payment. Register the webhook with the Webhooks API before sending the payment request, so that no event is missed while the customer is paying, and subscribe to all three outcomes:
epayments.payment.authorized.v1: the customer approved the payment in the app.epayments.payment.aborted.v1: the customer canceled the payment in the app.epayments.payment.expired.v1: the customer did not confirm the payment in time, 10 minutes by default.
Webhooks can be delayed or missed, so do not rely on them alone. Back them up by polling
GET:/epayment/v1/payments/{reference}
for the payment state, following the polling guidelines:
start after 5 seconds, then check every 2 seconds.
6. The merchant registers the payment
Register the payment in your POS system.
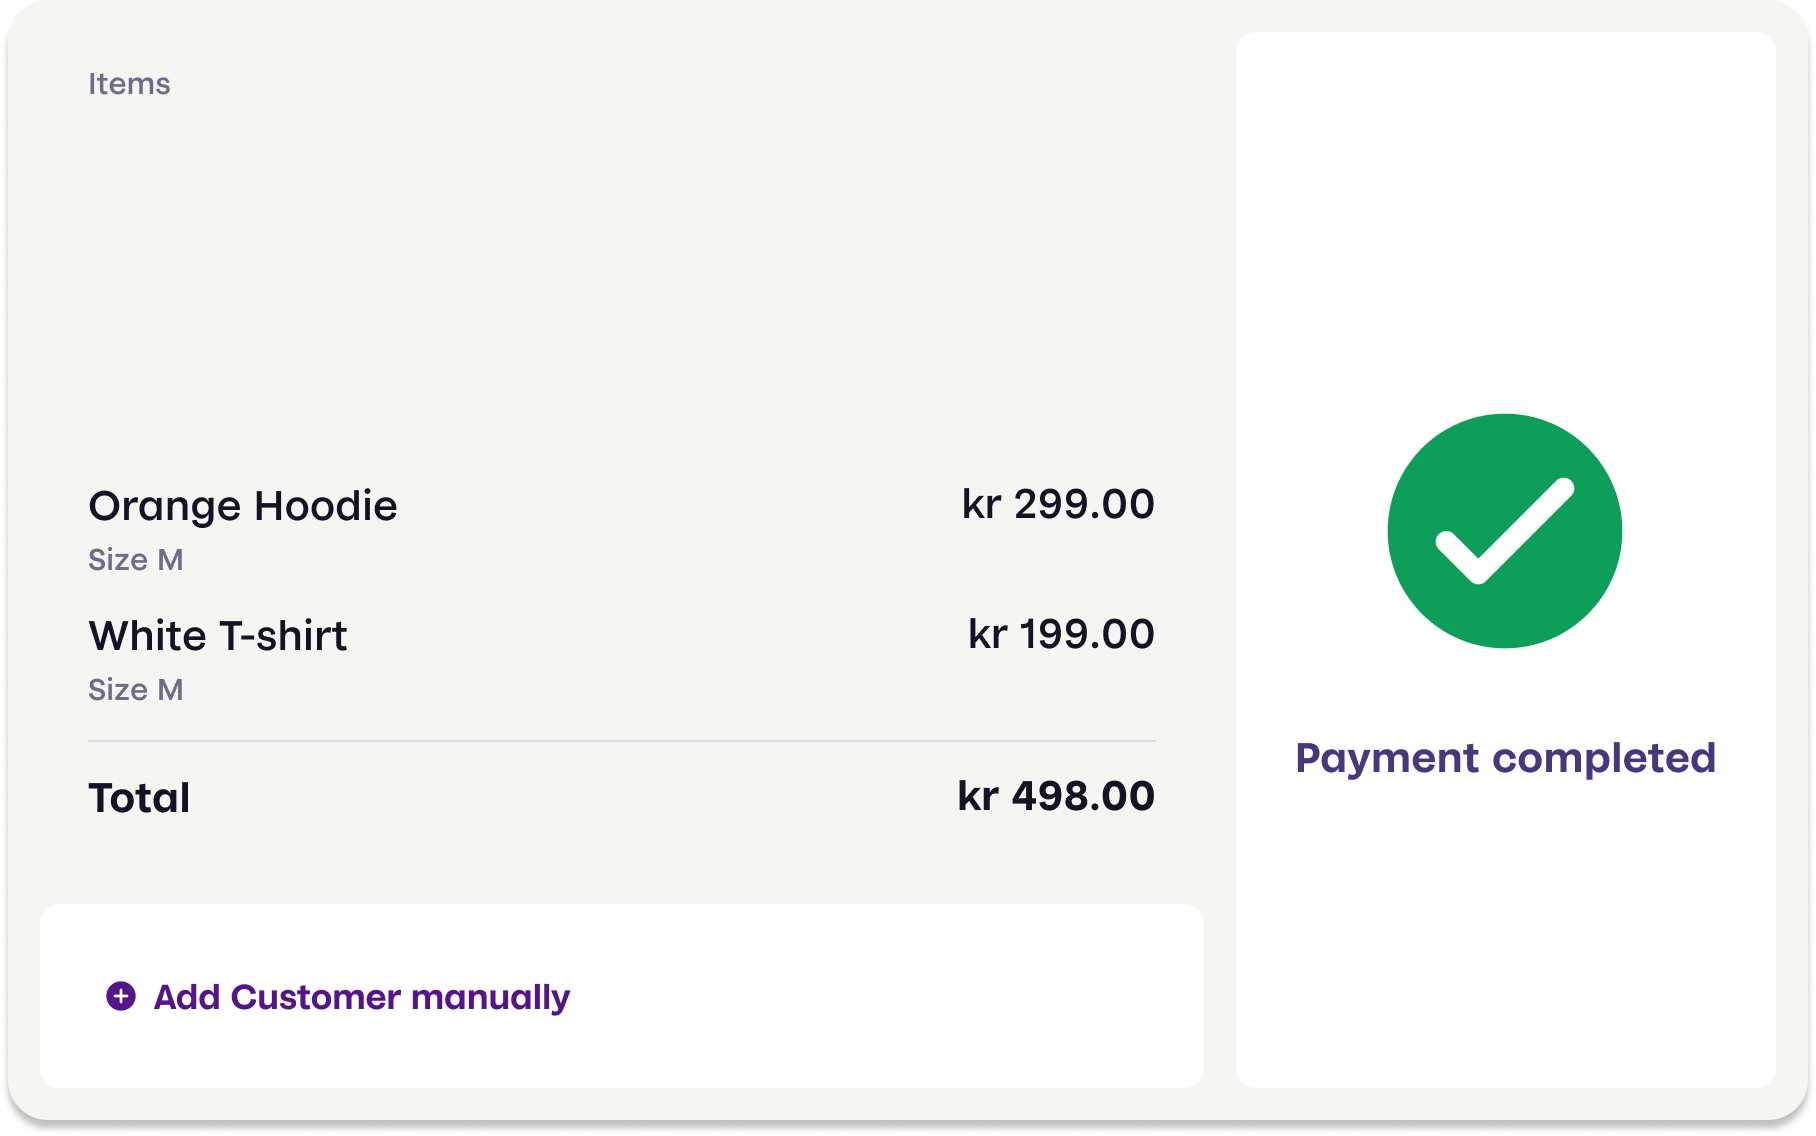
Screenshot: POS system showing order items on the left and a large green checkmark with "Payment completed" on the right, indicating successful payment registration.
7. The merchant captures the payment
Authorization only reserves the amount. Capture is what moves the money, so capture the order through the ePayment API once the customer has the goods. The payment will then be transferred to your account. This may take 2 or 3 days, depending on the bank.
Sequence diagram
POS manual entry payment flow
- Customer provides their phone number to the merchant.
- Merchant adds products to the sale.
- Merchant initiates a payment request with receipt via the ePayment API.
- ePayment API requests payment from the customer.
- Customer selects a card and clicks pay.
- Webhooks API sends the merchant an authorized, aborted, or expired event.
- Merchant gets the payment from the ePayment API, as a backup if the webhook is delayed or missed.
- ePayment API returns the current state of the payment.
- If the payment was aborted or expired, the merchant releases the sale in the POS and the flow ends.
- If the payment was authorized, the merchant captures the payment via the ePayment API.
- ePayment API returns the status of the capture.
- Merchant verifies that the POS status matches the capture.
Next steps
See Recommended flows: In-person payments for an example of this flow with a scanner.