How Recurring works with initial charge
Introduction
The initial charge is used to require the user to pay an amount before the agreement is activated. Commonly this is set to the same amount as the agreement pricing (or the campaign price if applicable), but you can also set it to a larger amount in case they need to pay an additional fee (i.e., the discounted price of the phone if they purchase a smartphone with a subscription).
Note: Initial charge can be used regardless of campaigns or other promotions.
Appearance
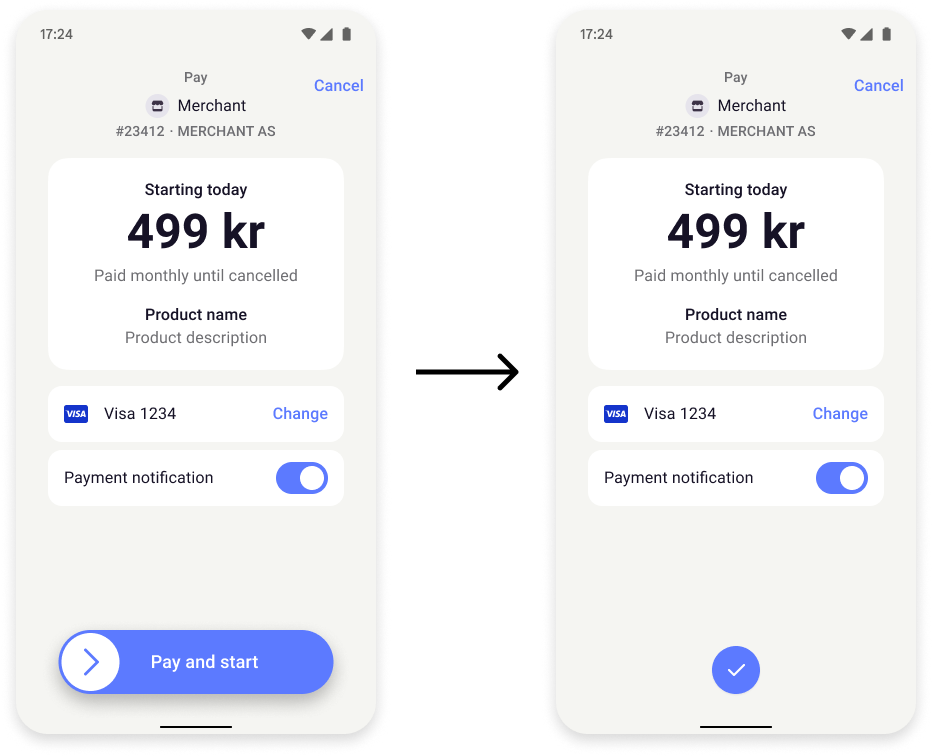
When the initial charge amount matches the agreement (or campaign) pricing, the initial charge is not explicitly displayed, but the buttons will say Pay and start instead of Confirm and start:
{
  "initialCharge": {
     "amount": 49900,
     "description": "Initial charge",
     "transactionType": "DIRECT_CAPTURE"
  },
  "pricing": {
    "amount": 49900,
    "currency": "NOK"
  },
 "interval": {
    "unit" : "MONTH",
    "count": "12"
  },
  ...
}
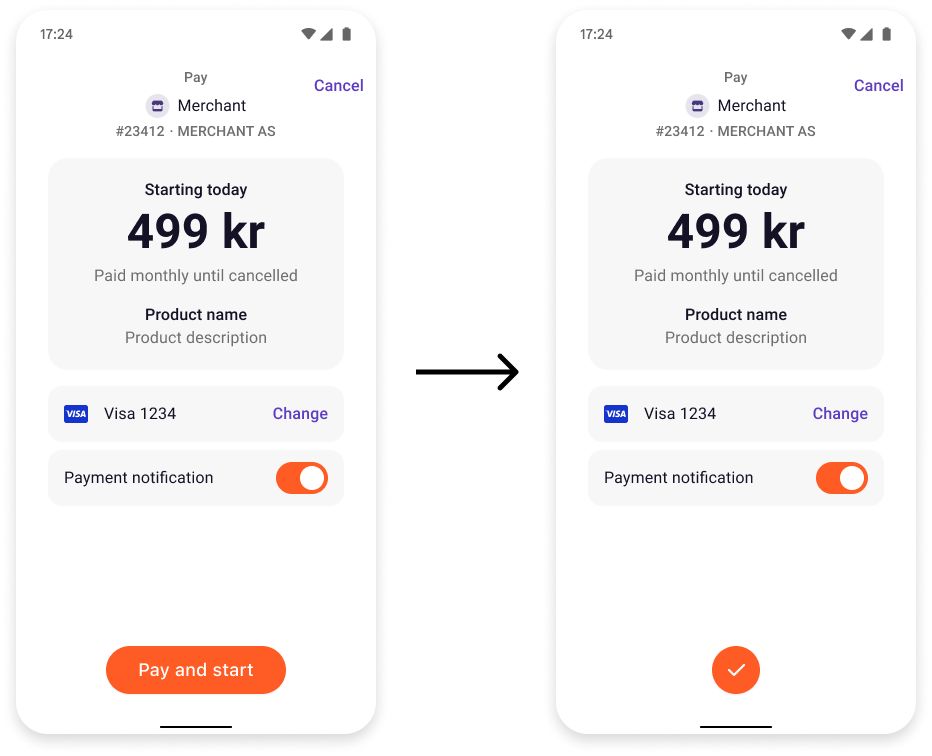
Screenshot: Two-screen flow in the app (Vipps or MobilePay): the first screen shows a recurring payment agreement with "Starting today", product details, a selected Visa card, a payment notification toggle, and a "Pay and start" button; the second screen shows the same agreement with a confirmation checkmark indicating the payment has been accepted.
If the amount is dissimilar, the initial charge will show up as a separate bubble instead:
{
  ...
  "initialCharge": {
     "amount": 29900,
     "description": "Initial charge",
     "transactionType": "DIRECT_CAPTURE"
  },
  "pricing": {
    "amount": 9900,
    "currency": "NOK"
  },
 "interval": {
    "unit" : "MONTH",
    "count": "12"
  },
  ...
}
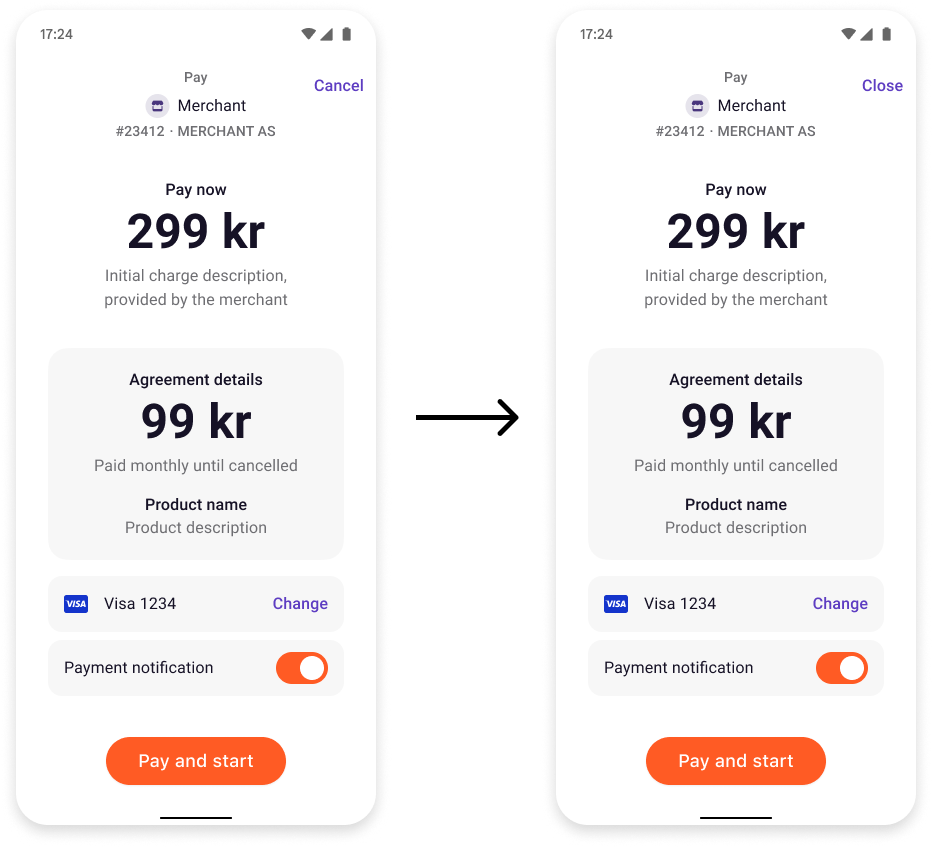
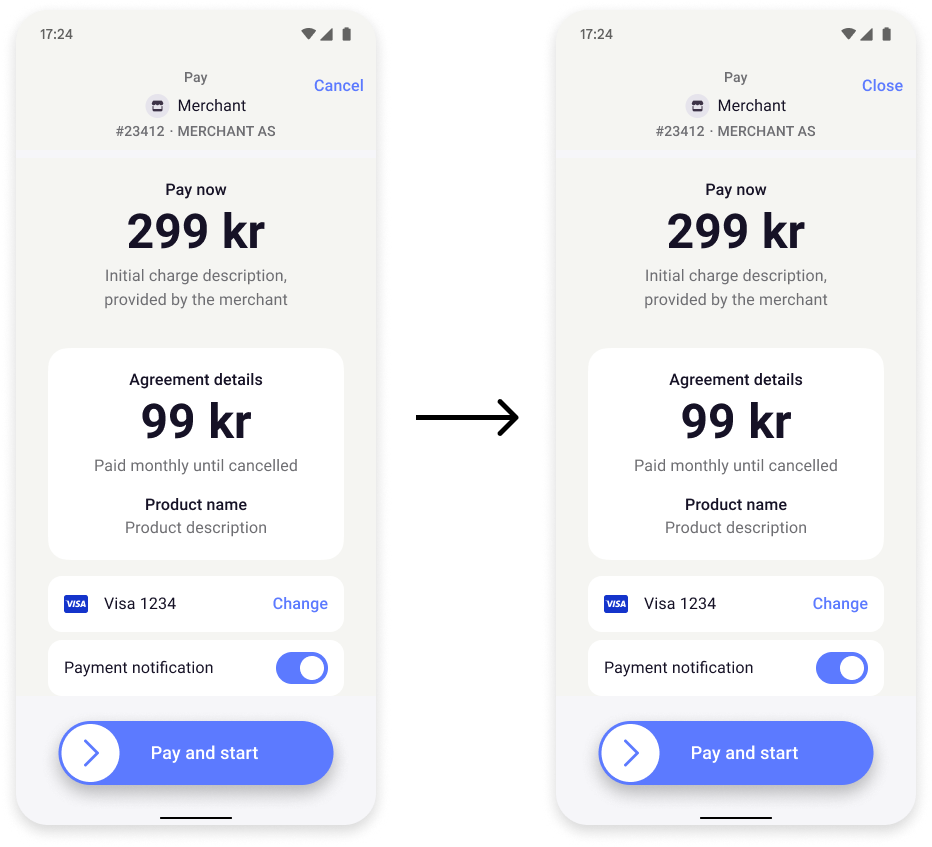
Screenshot: Two views of the payment confirmation screen in the app (Vipps or MobilePay) when the initial charge differs from the recurring price — a "Pay now" section shows the one-time charge above a separate "Agreement details" section with the monthly recurring amount, product name, and a "Pay and start" button.
For technical documentation go to: Recurring API.