Badge generator
Display trust badges showing that Vipps MobilePay is accepted on your site.
Is this right for you?
✅ Use this JavaScript library if you're building:
- Websites
- Progressive Web Apps (PWAs)
- Hybrid mobile apps (Cordova, Ionic, React Native with WebView)
❌ Building a native mobile app?
For static images, see:
About the On-Site Messaging library
The On-Site Messaging library provides an easy-to-integrate badge with a tailor-made message for your online store. The badge comes in five variants with different color palettes to suit your website.
Select the desired options and it will be updated immediately. Preview the button in dark or light mode by clicking the button.
Step 1: Include the library script
First, you need to include the vipps-osm.js script in your HTML.
The library should preferably be added between your page's <head>...</head>-tags and only once per page:
<script
  async
  type="text/javascript"
  src="https://checkout.vipps.no/on-site-messaging/v1/vipps-osm.js"
></script>
If you don't have access to edit your website's code directly, you can place the script just before the chosen badge.
Step 2: Add the badge
The badge generator above provides you with a code snippet. Add this to your HTML page in the desired location. For example:
<!DOCTYPE html>
<html>
<head>
    <script
      async
      type="text/javascript"
      src="https://checkout.vipps.no/on-site-messaging/v1/vipps-osm.js"
    ></script>
</head>
<body>
    <vipps-mobilepay-badge
      brand="mobilepay"
      language="en"
      variant="gray"></vipps-mobilepay-badge>
</body>
</html>
The badge will look like this:
Step 3: Customize the badge
You can customize the button by modifying the attributes in the <vipps-mobilepay-badge> tag.
Here are some of the attributes you can use:
- brand: The brand that the element uses. This will impact the colors and logo that will be displayed.
Supported values:
vipps,mobilepay. Default:vipps. - variant: The color variant of the badge. Supported values:
white,filled,gray,light,purple. Default:white. - language: ISO 639-1 alpha-2 language code (
en,no,fi,dk,sv). Default:no(Norwegian Bokmål).
All attributes are optional.
Placement and size
You can customize the placement and size of the badge by either applying your own CSS-style with the class or style attribute.
If the badge is too small or too large to fit your content, you can override the font-size to scale it as follows:
<vipps-mobilepay-badge variant="purple" style="font-size: 1.5rem;"></vipps-mobilepay-badge>
This will scale the badge to 1.5x the size of the root font size. You can also use px or em values to scale the badge.
The badge is an inline element by default, which means it will stay on the same line as sibling elements.
To get the badge on the next line, you can set display: block on the element to prevent it from being inline:
<vipps-mobilepay-badge variant="purple" style="display: block;"></vipps-mobilepay-badge>
To make the badge fill the parent container, set width: 100%:
<vipps-mobilepay-badge variant="purple" style="width: 100%;"></vipps-mobilepay-badge>
To align the badge, set text-align on the parent container:
<div style="text-align: center;">
  <vipps-mobilepay-badge variant="purple"></vipps-mobilepay-badge>
</div>
Integrations
Here is how to integrate the badge to your products in some of the most used e-commerce platforms. If you need a more advanced set-up or placement, please consult your e-commerce platform documentation.
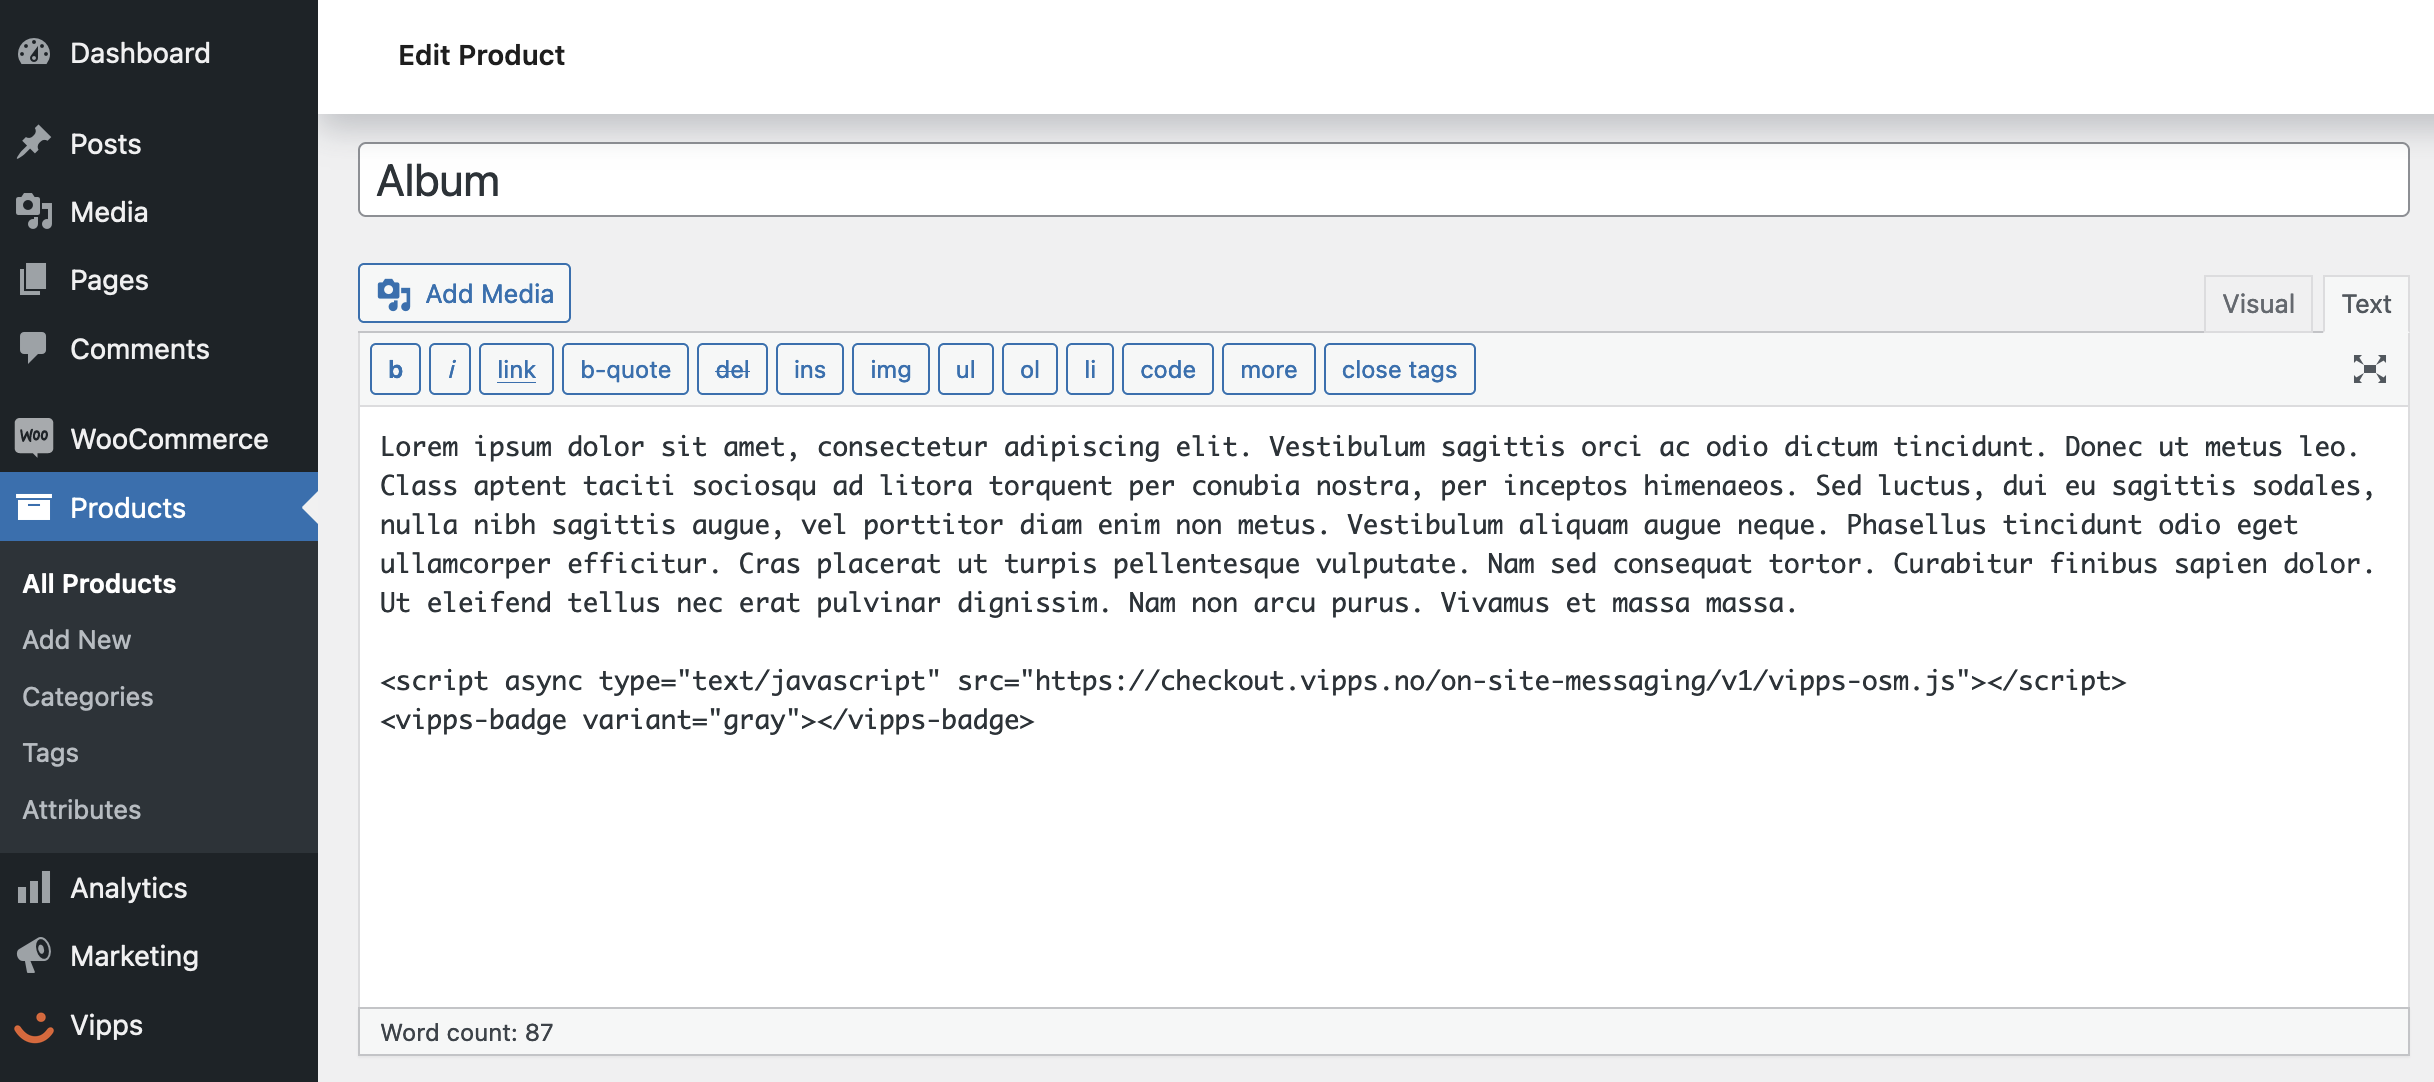
WooCommerce
To add the badge to your product in WooCommerce, click to edit the product where you want to display the badge.
Under either Product description or Product short description, click the Text tab (next to Visual) which is usually in the top-right corner of the text area.
Next, just add the JavaScript library and the code snippet for the badge:
<script async type="text/javascript" src="https://checkout.vipps.no/on-site-messaging/v1/vipps-osm.js"></script>
<vipps-mobilepay-badge variant="purple"></vipps-mobilepay-badge>
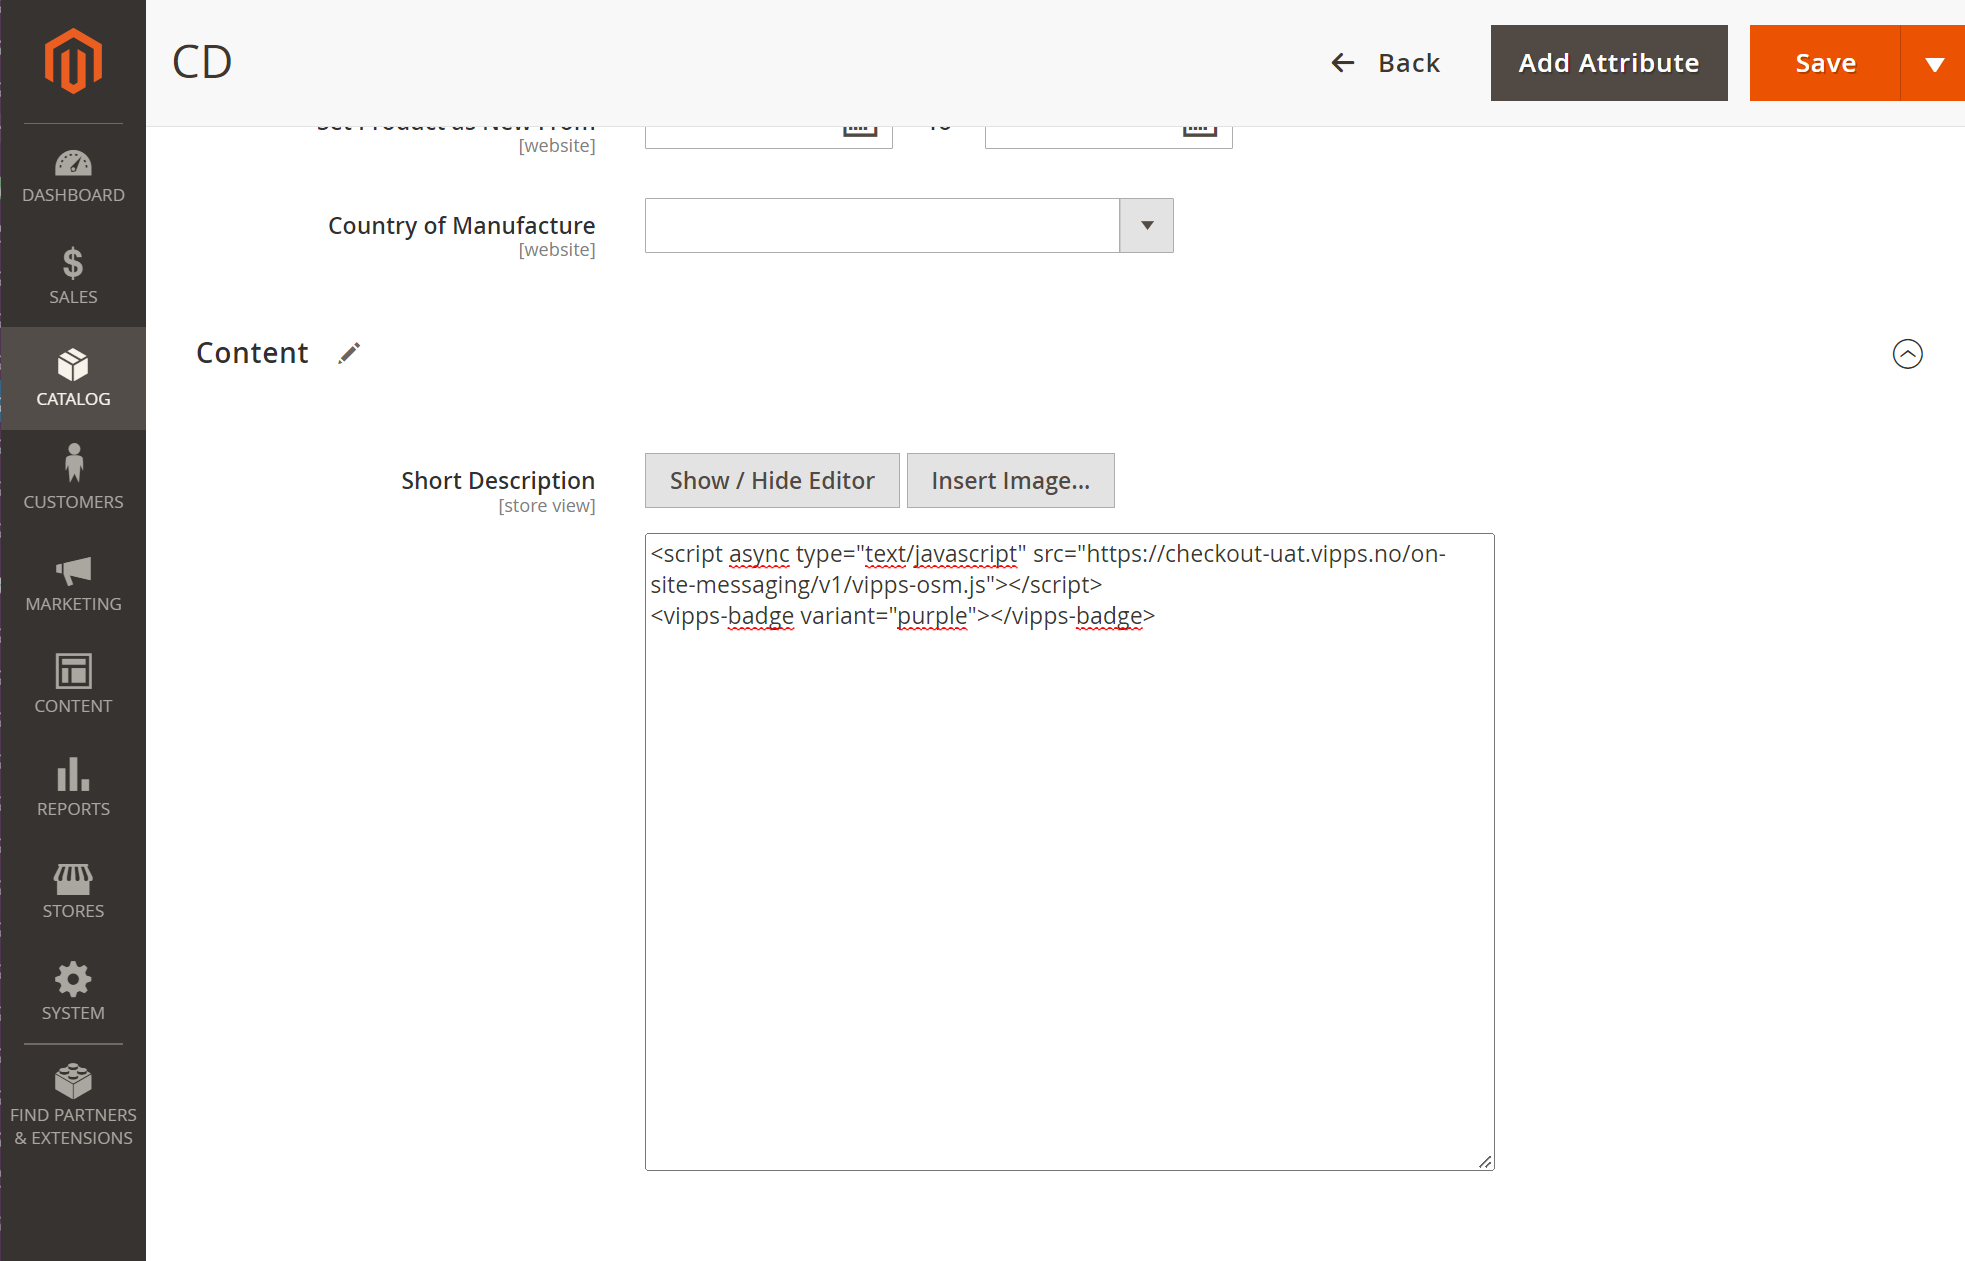
Adobe Commerce / Magento
To add the badge to your product in Adobe Commerce / Magento, find your product in Catalog > Products and open it for edit. Go to Content > Short Description, hide the editor, and then paste in the following:
<script async type="text/javascript" src="https://checkout.vipps.no/on-site-messaging/v1/vipps-osm.js"></script>
<vipps-mobilepay-badge variant="purple"></vipps-mobilepay-badge>
Shopify
To add the badge to your product in Shopify, find your product in Shopify Admin > Products and open it. Press the Show HTML button and paste in the following:
<script async type="text/javascript" src="https://checkout.vipps.no/on-site-messaging/v1/vipps-osm.js"></script>
<vipps-mobilepay-badge variant="purple"></vipps-mobilepay-badge>
