Login module installation guide
This is the guide for installing Vipps/MobilePay Login for Adobe Commerce (the Login module).
Prerequisites
- Adobe Commerce 2.4.0 or later.
- SSL must be installed on your site and active on your Checkout pages.
- You must have a Vipps MobilePay merchant account and be configured for use of Login.
- As with all Adobe Commerce extensions, it is highly recommended backing up your site before installation and to install and test on a staging environment prior to production deployments.
Installation via Composer
- Navigate to your Adobe Commerce root directory.
- Enter command:
composer require vipps/module-login - Enter command:
php bin/magento module:enable Vipps_Login - Enter command:
php bin/magento setup:upgrade - Put your Adobe Commerce in production mode, if required.
Configuration
The Vipps/MobilePay Login module can be easily configured to meet business expectations of your web store. This section will show you how to configure the extension via Adobe Commerce.
From Adobe Commerce, navigate to Stores > Configuration > Vipps MobilePay > Login.
Configuration details are described below:
Once you have finished with the configuration, click Save button.
Adobe Commerce configuration details
Configure your Adobe Commerce account to work with Vipps MobilePay Login.
After installing the Login module, a new menu item should appear in your store's Configuration Navigation under Stores > Configuration > Vipps MobilePay > Login.
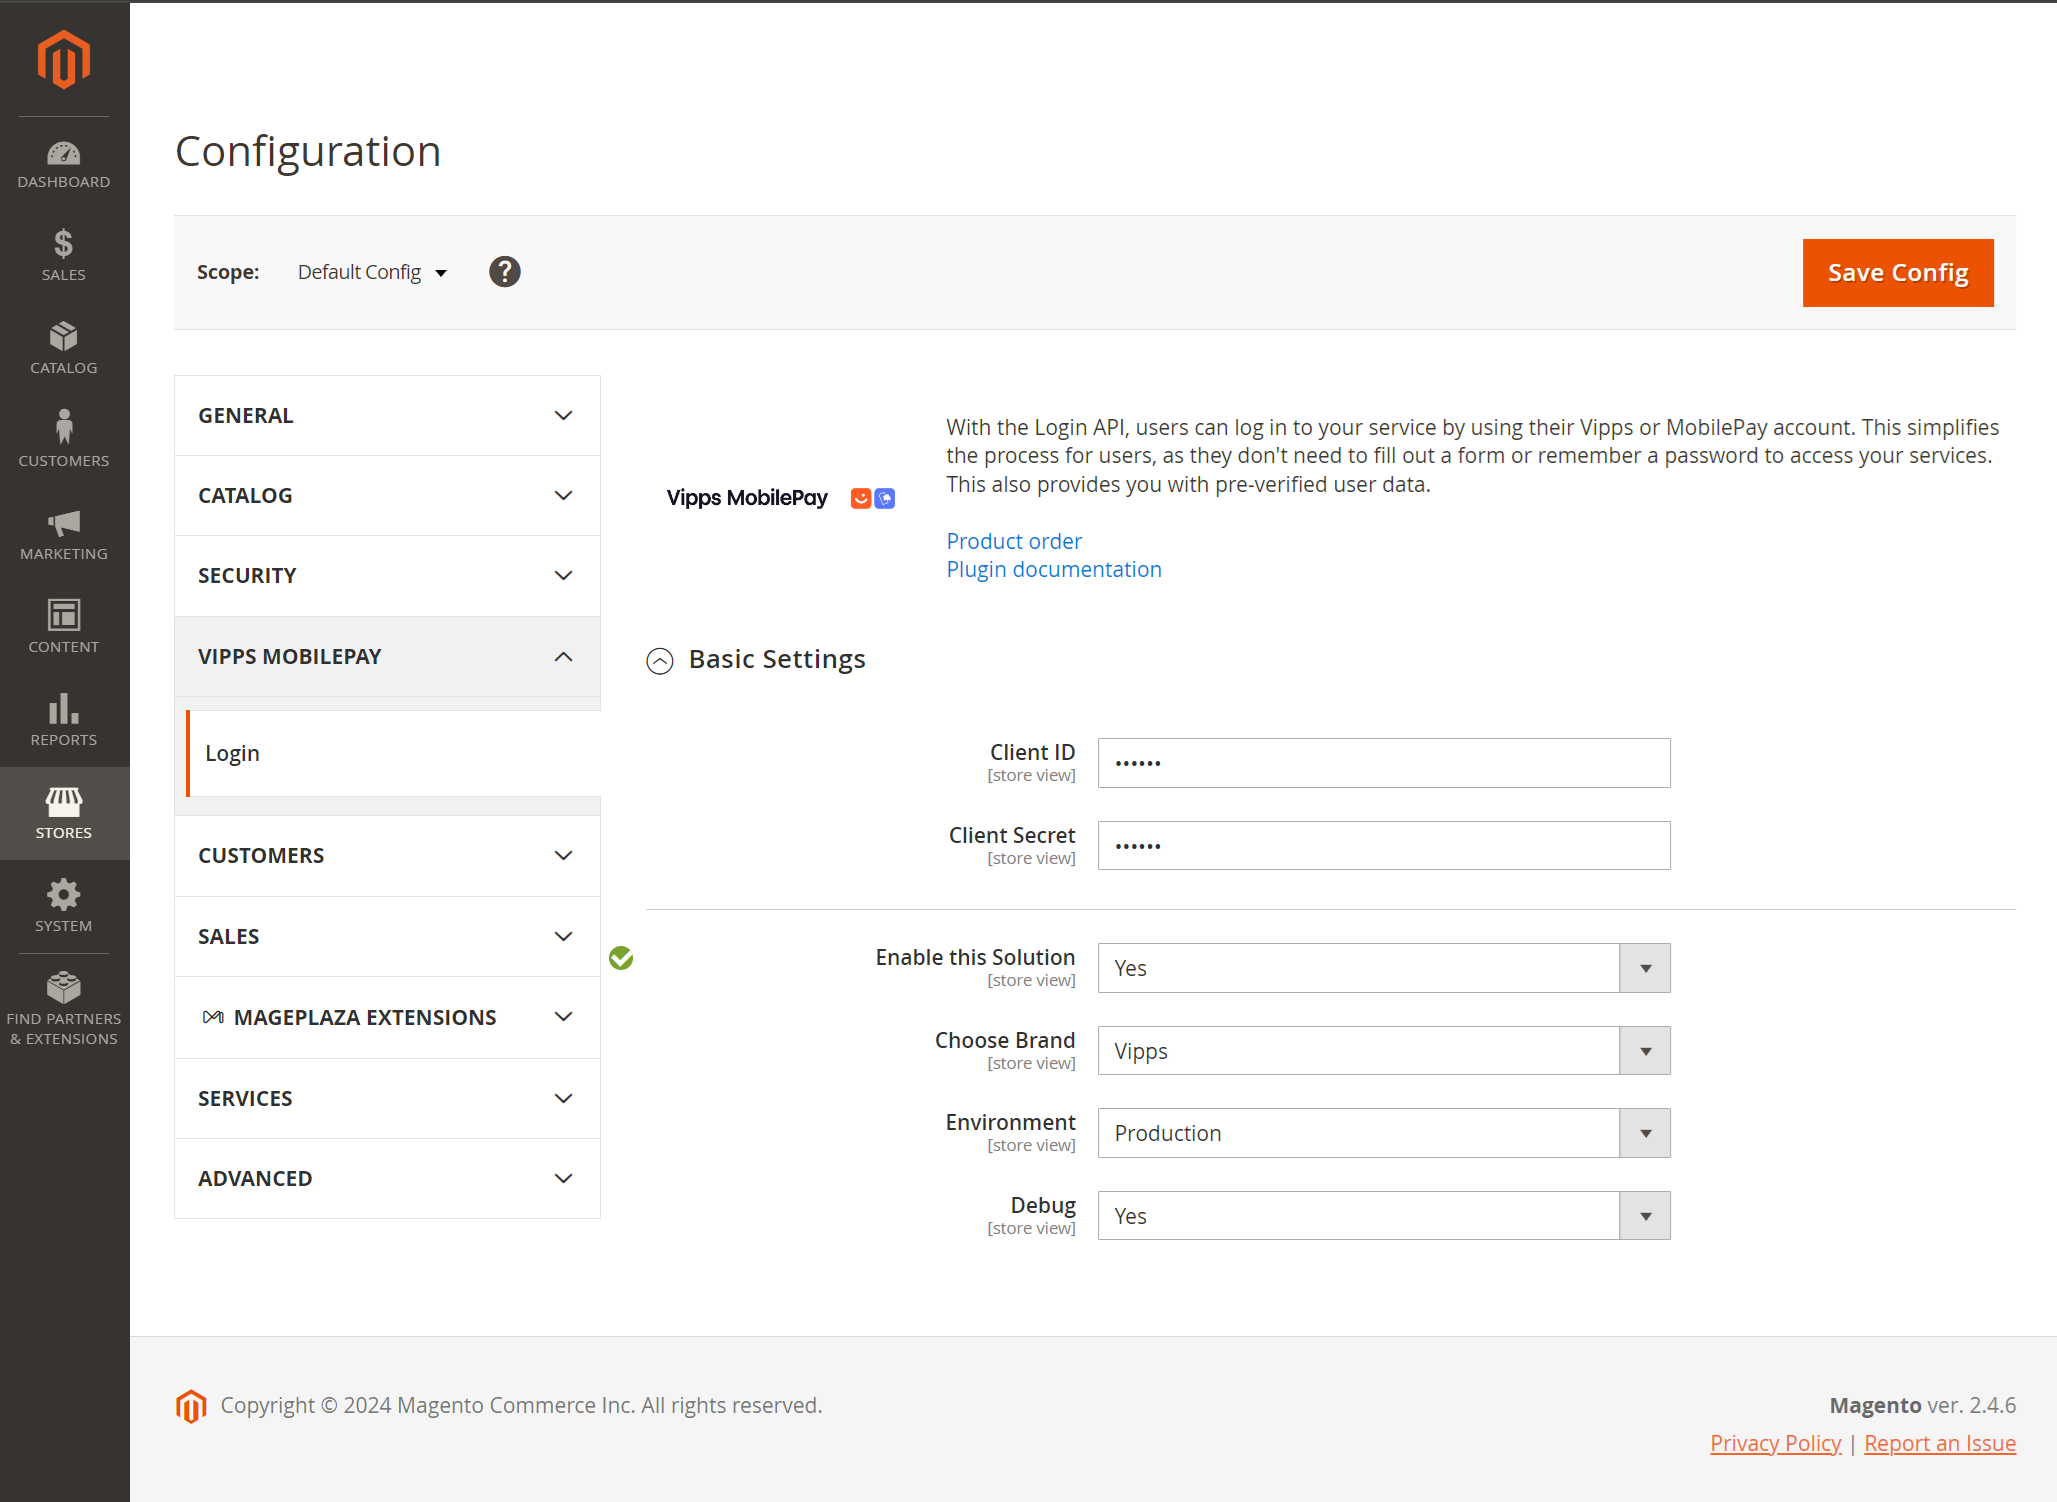
Enter your client_id and client_secret (see
How to find the API keys).
You can also switch between Development and Production mode. Note, to use the app in test mode, you must use the Vipps MobilePay test app.
While debugging, you can enable Debugging. Note that this will log additional data to your Adobe Commerce logs, so it is recommended that this is switched off.
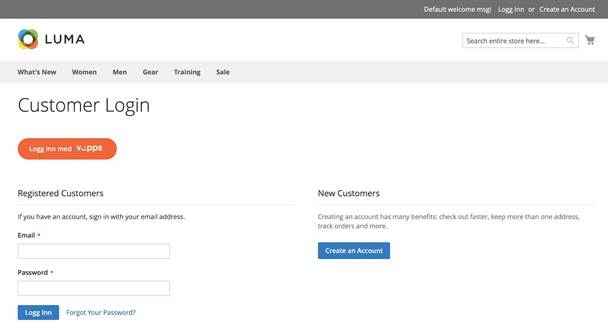
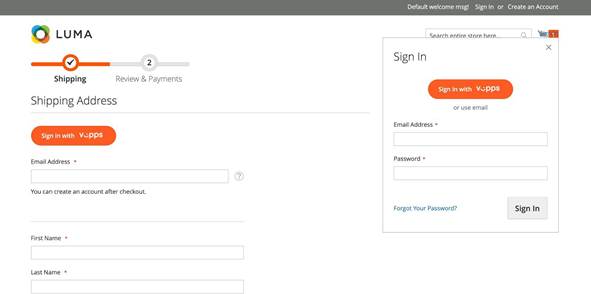
After setting up the module, it should appear in the frontend in a few locations automatically. For example, on the customer login page:
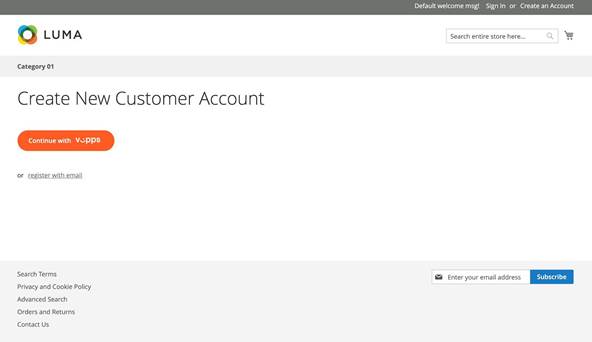
The customer registration page allows your customers to quickly register a new account using their existing data in Vipps or MobilePay.
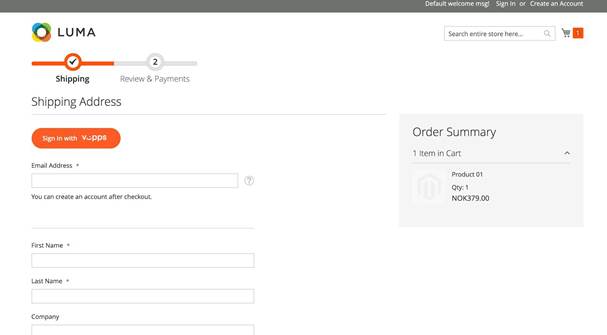
And, on the checkout page again allowing your customers to quickly log in without using a traditional username and password, and fill in their information with the data that is already stored in Vipps MobilePay.
Or log in with an authentication popup, where the Login button is also present.
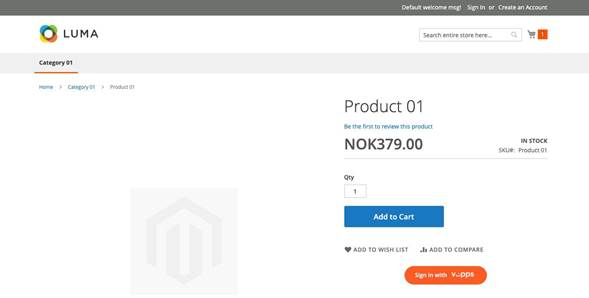
Using the Login module, you can create a widget with Sign In button and put it in any website location.
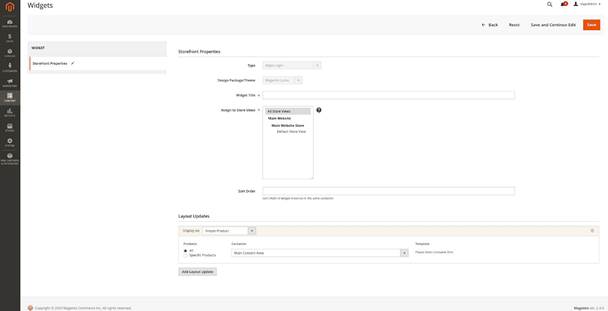
The frontend view may look like this:
When you have been registered, you will receive a confirmation email with an updated template. Inside this email, you can set a password to your account or always use Vipps MobilePay Login functionality.

Vipps MobilePay Login configuration details
-
Create your merchant account with Vipps MobilePay
To start using Login, you must first have a Vipps MobilePay merchant account with login functionality. If you don't already have this, you can Login.
-
Retrieve your API keys to send with your API requests.
-
Activate Vipps MobilePay Login for your sales unit.
To use the app in test mode, you must use the Vipps MobilePay test app.