Payment through company website
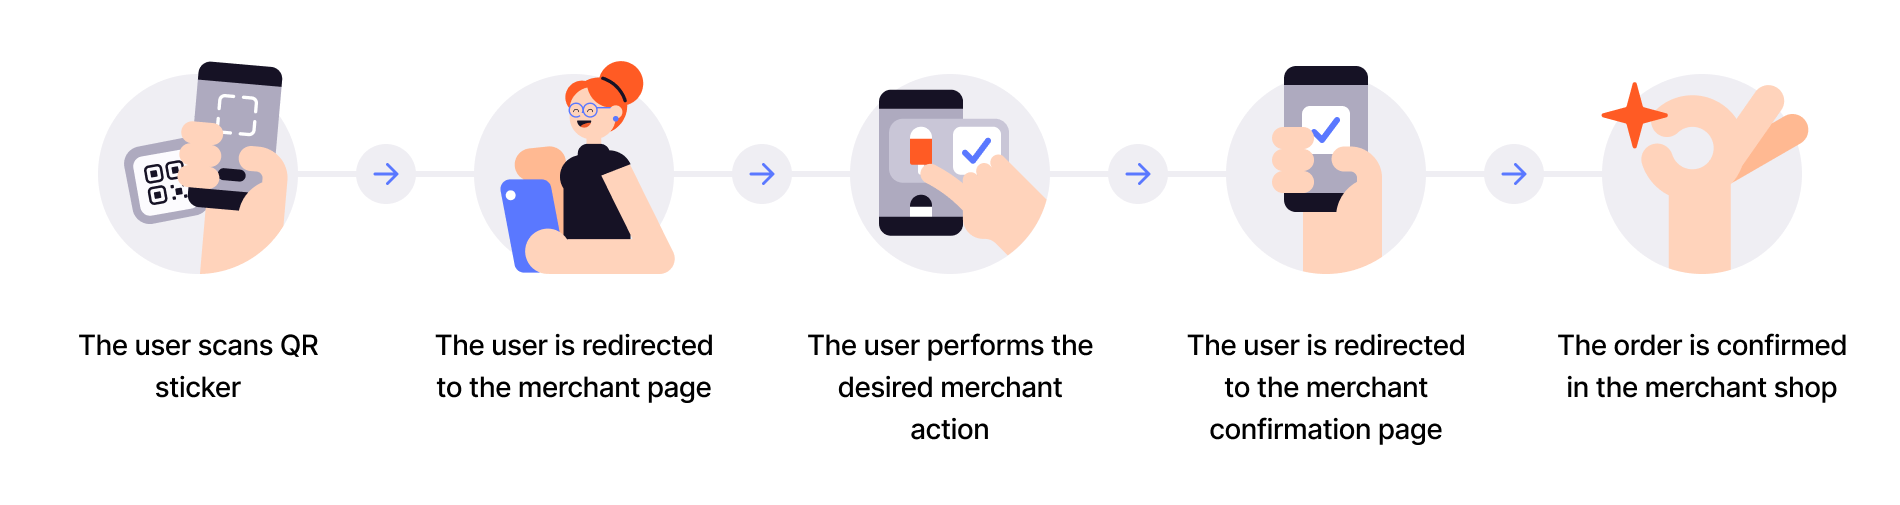
The customer scans a QR code and is directed to the taxi company's landing page.
The company sends a payment request to them through the Vipps  or MobilePay
  app.
app.
Prerequisites
QR code in the taxi: Generate a merchant redirect QR linking to your website or app. Print and place the QR code in your taxi.
How to create a QR code
The QR code contains a Id that associates it with the vehicle.
Here is an example HTTP POST:
{
  "id": "taxi_122_qr",
  "redirectUrl": "https://example.com/myTaxiCompany"
}
Details
Step 1: The customer scans the QR
When the customer scans the QR with their phone, they will be redirected to the redirectUrl.
Step 2: Send the payment request
Send a payment request to the customer
Detailed example
Since the customer has scanned from their phone, you don't need their phone number.
This payment command can do an app-switch and open their Vipps or MobilePay app with the payment request.
Specify "userFlow": "WEB_REDIRECT" to redirect user to the app.
Per regulations, specify "customerInteraction": "CUSTOMER_PRESENT".
Here is an example HTTP POST:
{
  "amount": {
    "value": 10000,
    "currency": "NOK"
  },
  "paymentMethod": {
    "type": "WALLET"
  },
  "customerInteraction": "CUSTOMER_PRESENT",
  "receipt":{
    "orderLines": [
      {
        "name": "trip",
        "id": "line_item_1",
        "totalAmount": 100000,
        "totalAmountExcludingTax": 80000,
        "totalTaxAmount": 20000,
        "taxRate": 2500,
      },
    ],
    "bottomLine": {
      "currency": "NOK",
      "posId": "taxi_122",
      "tipAmount": 10000,
      "receiptNumber": "0527013501"
    },
  },
  "reference": 2486791679658155992,
  "userFlow": "WEB_REDIRECT",
  "returnUrl": "http://example.com/redirect?reference=2486791679658155992",
  "paymentDescription": "Travel from Oslo central station to Oslo airport"
}
Step 3: The customer authorizes the payment
The payment request will appear in the customer's Vipps or MobilePay app, where they can select to pay or cancel.
To determine that the user has authorized the payment, you can get notifications via the Webhooks API and/or poll for the status.
Once the payment is approved, update the status in your system.
Step 4: Capture the payment
Capture the payment and confirm that it was successful.
Sequence diagram
Integration sequences for taxi payment through company website flow.
Payment through company website
Next steps
Explore the other ePayment flows in this section. When you are ready to learn about the technical details, review related sections: