QR to app
This flow is also documented in In-person payments → Static QR → Merchant Callback QR, which covers unmanned location scenarios including vending machines, trust shops, and self-service kiosks.
Customer scans a static QR code posted on the vending machine, approves a maximum amount in their app, makes their product selection, and is charged only for what they selected.
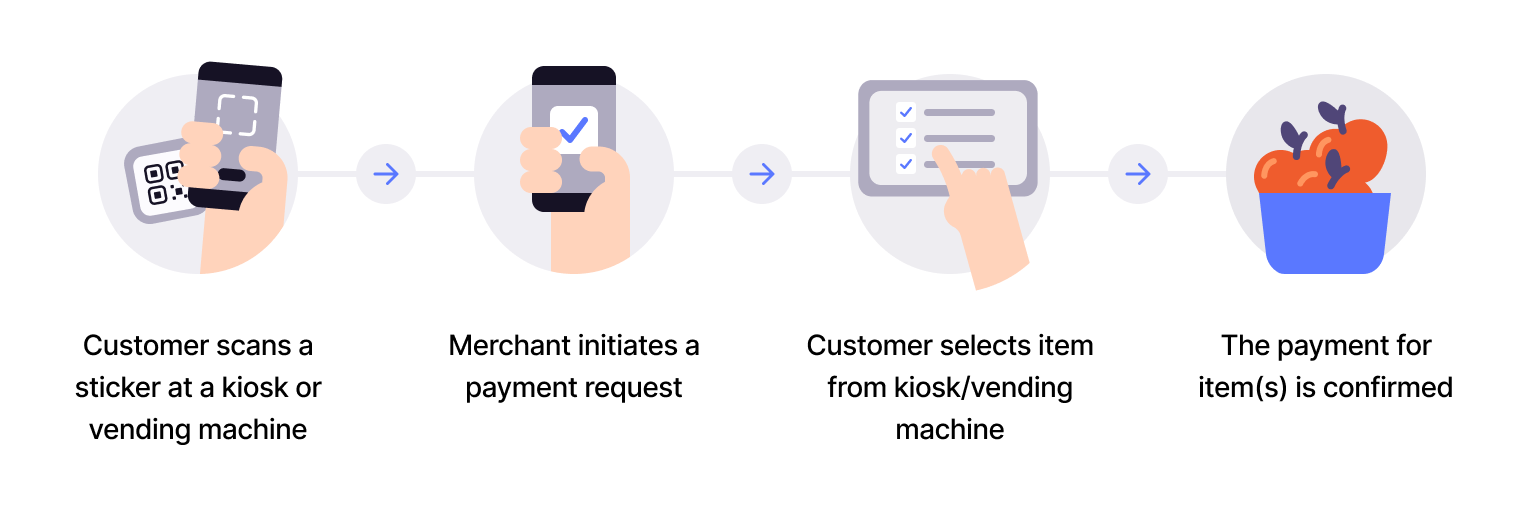
Flow diagram: 4-step QR direct-to-app payment process. (1) Customer scans a sticker at a kiosk or vending machine. (2) Merchant initiates a payment request. (3) Customer selects item from kiosk/vending machine. (4) The payment for the item(s) is confirmed.
- Customer scans QR - Customer scans the merchant callback QR code posted on the vending machine.
- Receive callback - Your system receives a webhook with the customer token.
- Initiate payment - Send payment request for the maximum amount (most expensive item) with
userFlow: "WEB_REDIRECT". - Customer authorizes - Customer approves the reserved amount in their app.
- Customer makes selection - Customer selects the product on the vending machine.
- Capture actual amount - Capture only the amount for the selected product (partial capture).
- Cancel remaining - Release the unused reserved amount.
This flow works for unmanned locations without customer-facing screens where you can't display a dynamic QR code.
Per regulations, specify "customerInteraction": "CUSTOMER_PRESENT".
View sequence diagram
Static QR directing to the app
- Merchant creates a Merchant Callback QR code via the QR API.
- Customer scans the QR code.
- Webhooks API notifies the merchant of the scan.
- Merchant adds the product to the sale.
- Merchant initiates a payment request with order details via the ePayment API.
- ePayment API requests payment from the customer.
- Customer clicks pay.
- Webhooks API sends the merchant a webhook with the payment authorization status.
- Merchant captures the amount due via the ePayment API.
- ePayment API returns the status of the capture.
- Merchant cancels the remaining reserved amount (releases it) via the ePayment API.
- Merchant attaches order details showing the amount paid via the Order Management API.
Technical details
- How the QR API works with merchant callback - Visual walkthrough of the flow
- Partial capture - Capture only actual amount
- Cancel after partial capture - Release remaining amount